
Start with what needs to arrive
Retail display assembly turns flat-pack components into displays that can be filled, checked and prepared for delivery. The job may include building the structure, attaching signage, loading products, applying labels and protecting the finished unit for transport. Agree which of those steps are included before production begins.
A display can look finished on the assembly floor and still need work before it reaches a store. The products may need securing, the shipping label may be missing or the retailer may expect a particular pallet arrangement. Planning the whole journey helps those details get resolved together.
Start with a photograph or sample of the intended result. Confirm whether the display should arrive empty, fully loaded or partly assembled, and what the receiving team will need to do next.
Choose where the assembly and loading happen
A counter display, a floor-standing unit and a shelf-ready tray can need quite different preparation. Some travel efficiently as flat packs and are built in-store. Others are assembled and filled before dispatch so store teams can remove the transport protection and put them in position.
Neither approach suits every job. A loaded display takes more transport space and needs protection around both the structure and its contents. A flat-pack delivery leaves assembly, product loading and disposal of packaging for someone at the destination.
Agree the approach with the retailer and production team. Confirm the size and weight for transport, the space needed in-store and any final setup that remains. A header or folded-out section can change the space a display occupies. GS1's trade item measurement guidance distinguishes between dimensions as supplied and dimensions when prepared for display.
Build and check a sample before the full run
Use the actual display components and products to check the intended build. A drawing can show the concept, but a physical sample lets the team check how the folds, tabs, shelves and products work together.
Check that the structure is assembled correctly, the intended products fit and the presentation matches the approved design. Ask the display designer to confirm the intended loading and any support or fixing requirements. If stability or transport performance needs testing, agree who will arrange it and what needs to be demonstrated.
Name the customer representative who can give customer production-sample approval and record the version approved. Keep a clear reference for the production team, including photographs of details that could be interpreted differently. Changes to the display or product arrangement may need another review before work continues.
Keep products, counts and presentation consistent
Specify the product, quantity and position for each part of the display. Include any mix of flavours, colours or sizes, and explain whether different stores receive different versions.
Count the required components and products against the number of complete displays. A supply of display bodies is not enough if shelves, headers or one product variant are missing. Agree what happens to incomplete units and who can decide on a substitution.
For shelf-ready formats, Douglas Machine's retail-ready packaging guide describes five practical checks: easy to identify, open, replenish, shop and dispose of. They are useful prompts for reviewing the store experience, rather than a universal specification for every display.
Keep checking against the agreed sample during the run. Look at construction, product identity and count, visible damage and overall presentation. Agree the checking method with the production team before starting.
Protect the finished display for its journey
Plan transport protection around the assembled display and its products. Consider exposed corners, projecting headers, shelves and anything that could move or rub during handling. Choose the pallet, outer cover, wrapping or other protection to suit the agreed load and delivery route.
A sample that looks right while standing still does not establish how it will travel. The International Safe Transit Association's packaging test guidance recommends selecting tests around the distribution journey and monitoring actual shipments. Discuss any required transport testing with the packaging supplier or an appropriate testing specialist.
Make removal straightforward at the destination. The receiving team should know what to remove, what stays attached and how to move the display into position. Protection that is difficult to remove without damaging the display can create another problem at the store.
Make labels and collection bookings part of the job
Confirm the required product, display, carton and pallet labels with the customer or receiving organisation. They may identify different things. Use the agreed barcode files and label positions, and check that labels remain visible and readable after packing.
Work backwards from the required arrival date through carrier transit, collection availability and the facility's dispatch windows. Confirm whether a booking is needed at the destination and whether the carrier can handle the finished load as prepared.
Keep the display quantities and destinations aligned with the dispatch documents. If stock is leaving in stages, identify which completed displays belong to each collection. Our contract packing deadlines guide explains how to build the production plan around the delivery requirement.
What this looks like on a CleverPak job
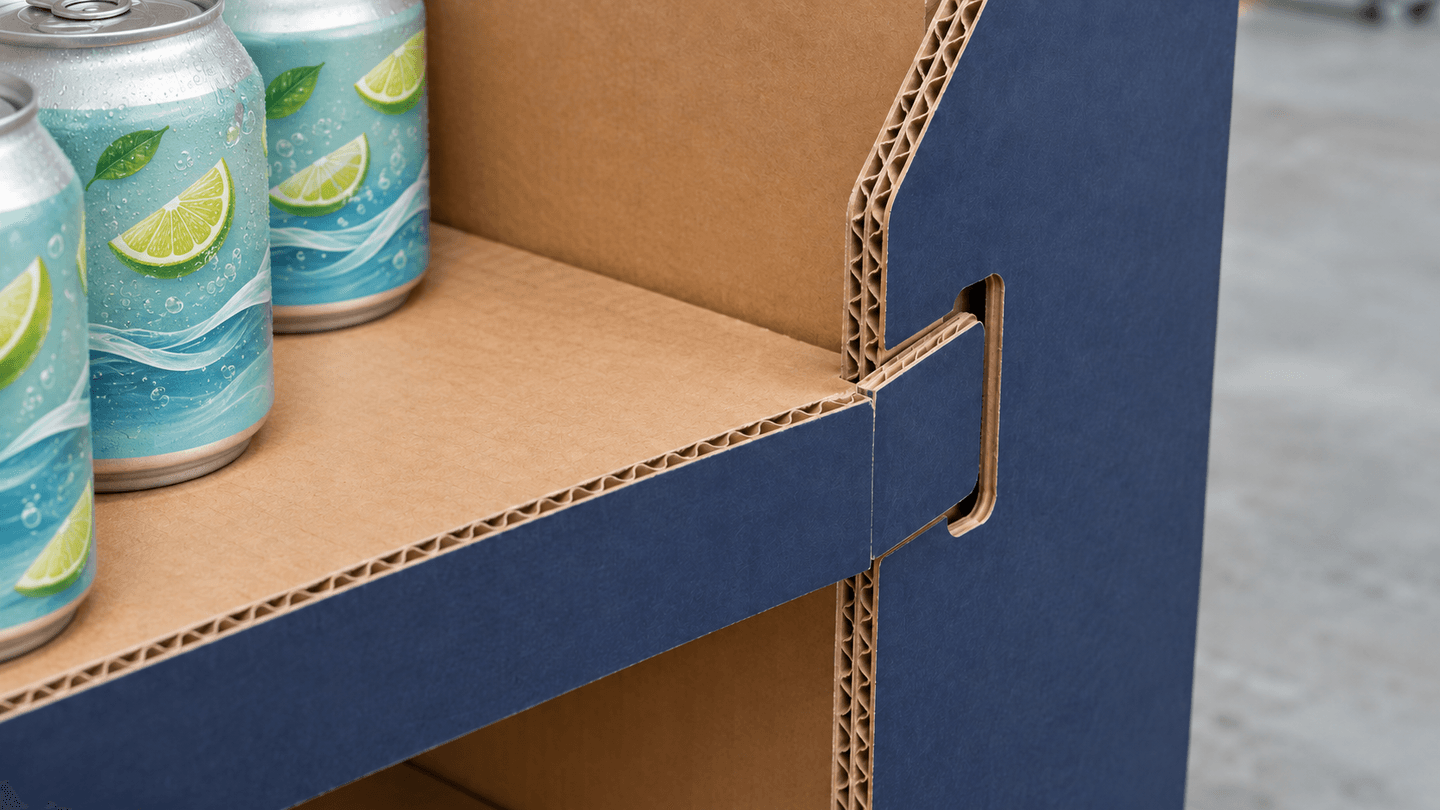
On a beverage-product job involving 1,100 retail displays, CleverPak assembled the displays, loaded the products and packed the units for dispatch. The work also included the required barcodes and carrier bookings arranged around the facility's collection windows.
Assembly was one part of the job. Product loading, labels, dispatch packing and collection arrangements also needed to work together.
Bring us the display and the delivery requirement
CleverPak assembles retail displays, loads products and prepares finished units for dispatch through a managed production network. We bring the assembly, checks and dispatch requirements into one plan. The work also creates meaningful employment for the communities behind our facilities.
Share a display image or sample, the number required, the products to be loaded and where the finished units need to arrive. Include the delivery date and any retailer instructions you already have. If some details are still being worked out, identify those gaps so they can be resolved during planning.